Espresso is one of those drinks that people love to hate. If done properly, it’s a delicious treat; if done badly, it’s bitter, burnt, and tastes awful.
There are many factors involved in pulling a great espresso shot, including grind size, temperature, quality of the espresso machine, and many other. In this article we are going to discuss tamping and we will show you how to tamp espresso for the perfect cup of coffee.
Espresso tamping is after grind size, the most important variable when pulling a shot of espresso. If you get the tamping wrong, your espresso shot is ruined. Water will pass through the grinds too fast, or too slow causing under-extraction or over-extraction. This is why we dedicated this long article for it.
What Is Espresso Tamping?
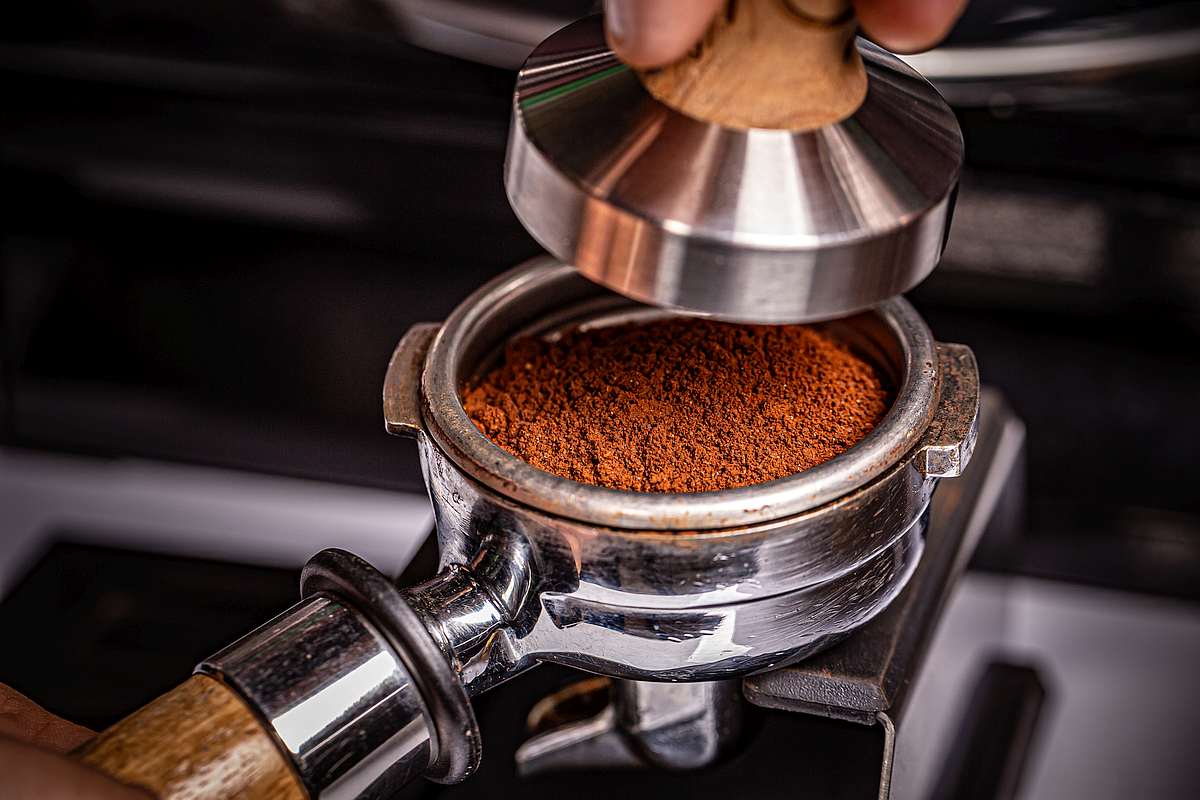
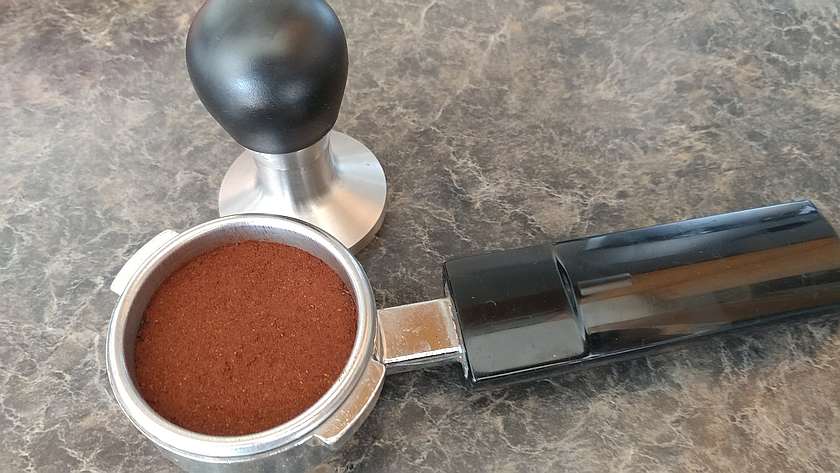
Tamping the coffee grounds in the portafilter compresses the grounds into a coffee puck. When pulling a shot of espresso, this creates resistance for the water that passes through the puck. This is how we make the water extract soluble solids from the grinds faster. It’s, in a way, similar to how the pressure washer works. We restrict the flow to create pressure.
The tamper fits snugly into the basket, so that no grounds slip by on the sides. Espresso tampers can vary in sizes, materials, design and even function.
The simplest tamper is a cheap plastic tamper that comes with the espresso machine when you buy it, and typically is replaced with a stainless steel, or aluminum one by the home barista.
Quality tampers match perfectly the basket’s size. They come in convex or flat shapes.
There are more complex tampers, with a spring and an automatic release, calibrated for 30 pounds of force. A calibrated tamper is more expensive, but ensures the perfect tamping force every time.
For a review of some of the best espresso tampers on the market, read our dedicated article. We couldn’t help it, and we shoved some technical stuff in there too.
Why Do We Tamp?
The next question is probably: “But wait, why create resistance in the first place?”
You are thinking that we do it to remove the air pockets and convince the water to flow evenly through the coffee bed. You are only partially right.
The goal is to extract the maximum amount of flavors and aromas from the beans in the shortest amount of time. Certain beans are better than others for espresso making, however, all can give you a good shot. We have an article where we tackle espresso extraction in details, but the idea is that we are pressure washing the coffee grounds so that we extract the good flavors while avoiding to extract the bad ones.
Soluble solids in coffee have different solubility, and this works great for us, coffee lovers, because the good flavors happen to extract faster than the bad ones. Tamping creates additional pressure during extraction, so we get more solubles in our cup in a shorter amount of time. The extraction time is short enough that we don’t reach the point where tannins and other bitter flavors start to dissolve.
How To Tamp Espresso – Techniques, Tips, and Tricks
Tamping is in a direct relationship with other espresso brewing variables, such as grind size and the dose. When you change one of the variables, and you might need to change others.
Typically, baristas avoid changing the tamp force.
Set your Portafilter Level
This step is many times neglected and it accounts for a considerable percentage of the failed shots.
If tour filter basket is not in a perfect 90 degree angle with the kitchen counter, your tamp will be done in an angle. This will result in an uneven bed of coffee, which will lead to poor extraction.
Some portafilters have a large handle end, so that when you place it on the kitchen counter, or any flat surface, the basket is perfectly level. But most of the portafilters do not have that handle, so you will have to hold your handle in a perfectly flat position.
A tamping stand will also solve this problem. A tamping mat is not that great for the leveling precision, unless you build your own support for the portafilter handle.
📏 How to Tamp Espresso — Interactive Diagram
Click the numbered hotspots to learn what actually matters for a perfect tamp.
Click a numbered hotspot on the diagram to see details.
Tamping science is evolving. Modern research emphasizes distribution and level technique over raw pressure.
Level and Distribute the Grounds
Tamping perfectly means to compress the coffee puck with about 20-30 pounds of pressure, but more importantly making sure the puck height is uniform.
Uneven extraction is many times worse than an over-extracted shot but evenly extracted. This is why we need to level the grounds.
Coffee grounds distribution helps avoid channeling. Channeling happens when the water finds a loose spot, or an air pocket in the espresso puck, and
Avoiding Uneven Pucks
A common issue with tamping is that the barista will apply a bit more pressure on one side of the puck, causing it to be taller on one side and shorter on the other side.
When water passes through during the extraction, it will choose the path of least resistance, which is the shorter side of the puck. The tall side will be under-extracted, while the short side will be over-extracted.
Keeping the portafilter level on the kitchen counter helps with the uneven tamp. However, sometimes it’s just the barista’s hand.
Leveling The Grounds
Preparing the coffee grounds for the tamping is important. If the grounds are not level in the basket, pressing them with an even force will compress the peaks, but will leave the valleys less compressed. For more on this topic, see What Is a Dead Espresso Shot.
There are a few ways to level the grounds in preparation for tamping. They all work decently, though if you aim for the perfect espresso shot there is one technique that is better.
The Stockfleth method
One of the oldest popularized leveling technique is the Stockfleth method. With the Stockfleth method the barista uses their index finger and a rotation to distribute grounds and level them flush with the basket’s rim.
Your thumb rests on the rim of the basket and your index finger straight across the basket. The portafilter and your hand rotate in opposite directions so that your index swipes the grounds, removing excess grounds and leveling them.
This method has the advantage of getting a beautiful, perfectly level surface. However, with this method you can still have air pockets and clumps under the nice surface.
The Tap Method
The tap method involves a few successive taps and knocks to remove, lose spots, or air pockets and level the coffee grounds.
Start by tapping the portafilter on the sides until the grounds get level. Continue with one or two vertical knocks on the kitchen counter to remove air pockets and slightly compress the puck.
This method is really good at removing air pockets and to a certain level even declumping, however, you will find out that very often, the vertical knock creates an uneven puck with one side taller.
With the tap method, you will also have to use a scale, as you will not be able to measure volumetric the coffee grounds, as you do with the method.
Level and Distribute Espresso Using Tools
Using an espresso distribution, followed by a leveling tool is the best approach when aiming for espresso perfection.
The distribution tool works like a rake. It de-clumps the grounds, and it creates a puck with an even distribution.
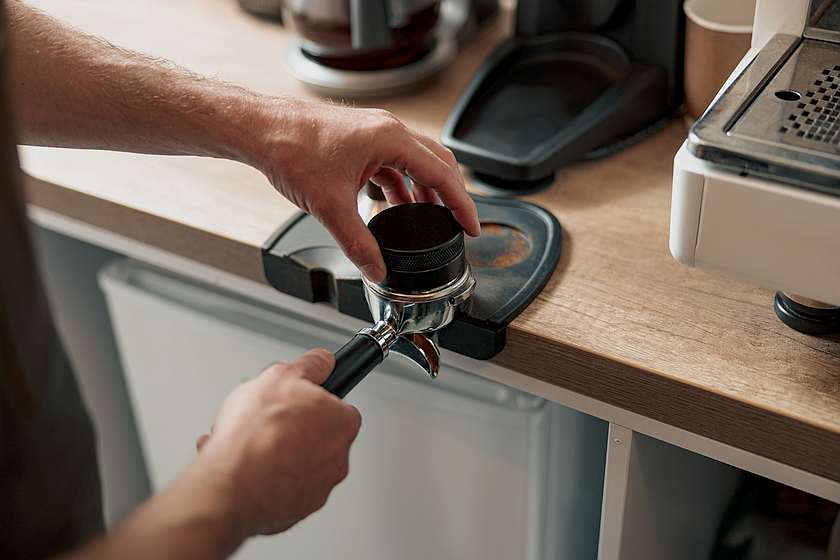
The leveler tool looks almost like a tamper, but it has two edges that push the grounds down into the basket. This is almost like a pre-tamp, you will see in the next section that pre-tamp is a thing.
Tamping – Technique and Pressure
The pressure for tamping the ground coffee into a filter-basket is about 20 to 30 pounds of pressure.
Some baristas don’t like to be very strict with this tamping force and prefer to play with the ratio grind size/tamping pressure. The safer approach is to maintain the same pressure when compacting the coffee into the filter basket.
Maintaining the same tamping pressure across shots, gives you more consistent results. Play with the grind size, if you need to adjust extraction. Whatever tamping pressure you choose, train your hand for it, and try to maintain it.
With the pressure being constant, changing just one variable, the grind size, will allow a more methodical approach.
Why the range then? Baristas with smaller body frames will have a hard time tamping with 30 pounds too many times. Professional baristas are prone to wrist injuries, caused by the repetitive strain during tamping. 20 pounds tamping is still acceptable, but you might need to adjust the grind size.
When learning how to tamp, the recommended technique is to start tamping on a bathroom scale. You can tamp your first shots on a scale, but you can also start pressing on a scale without any coffee, or port-filter, just to get the feeling of what means to press 30 lbs.
The classic tamping technique is to press vertically with 30 lbs force, and then do a twist with the tamper.
If you practice enough tamping on a scale, at some point, the muscle memory will be enough, and you can ditch the scale.
The pre-tamping idea is to prepare the coffee bed for tamping by applying a low amount of pressure. This in turn, will give you more precision when forming the puck.
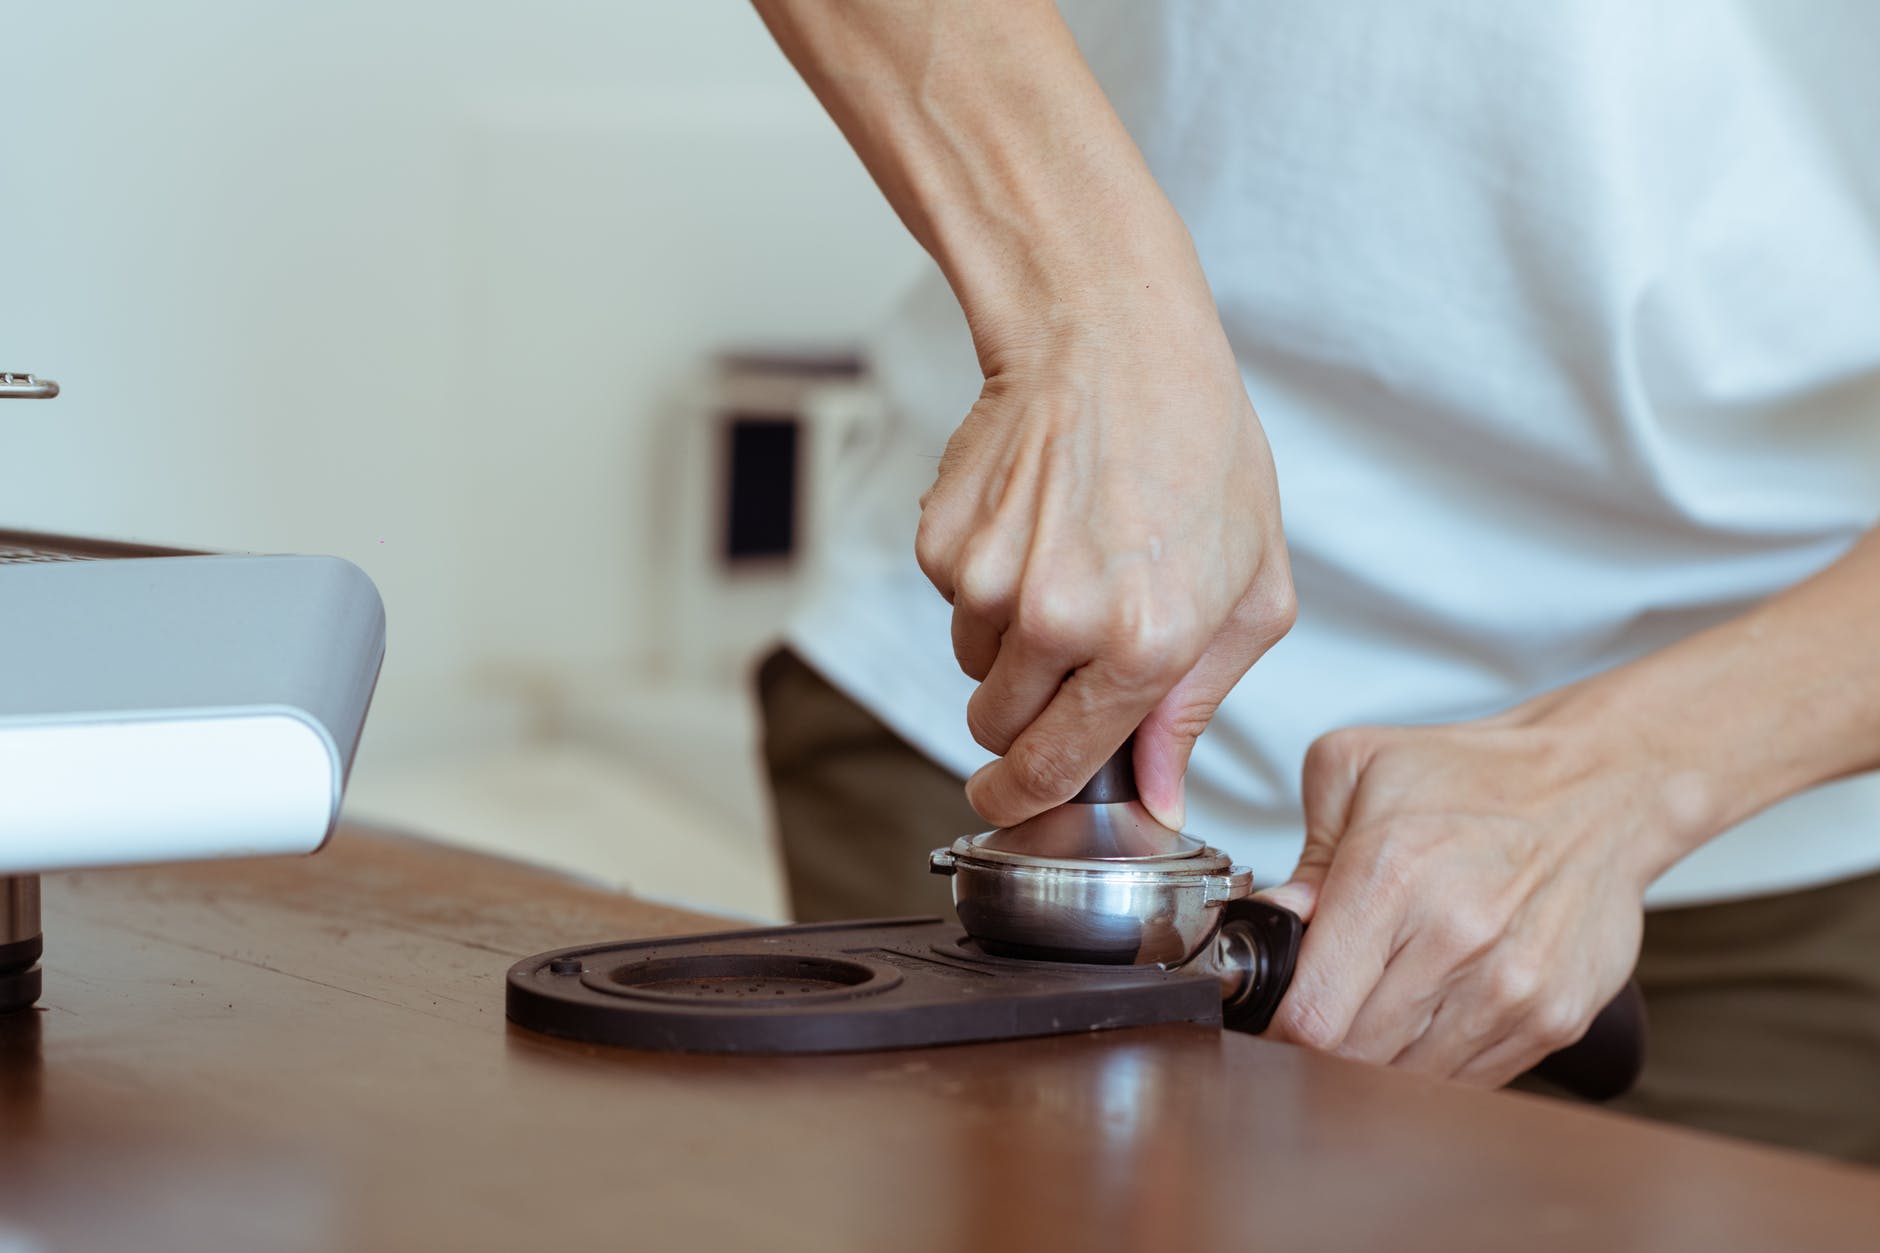
Tamping Technique
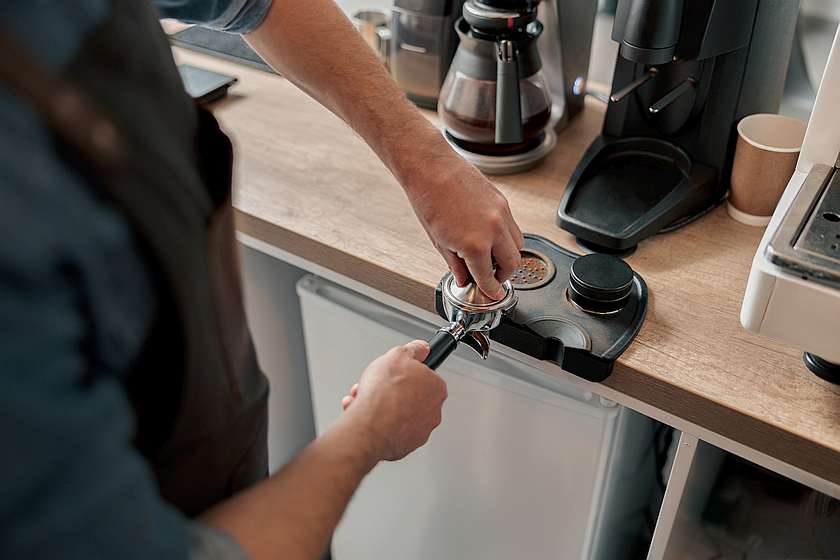
The grip technique is important for applying even pressure on the coffee grounds. You want to hold the tamper with your thumb and index finger resting on the tamper, and not on the handle. Pressing two or three fingers concomitantly on the tamper allows you to apply even pressure.
Press firmly, holding the tamper and the portafilter level, so that you get an even coffee bed. This is where you apply 30 pounds of pressure.
Just as you finish the tamp. slightly twist the tamper as you remove it from the portafilter. Don’t perform the twisting motion while you’re pressing down on the puck; otherwise, you’ll create an uneven bed, or disturb the packed grounds.
Tamping – Step by Step
- Transfer the coffee from the grinder into the portafilter.
- Distribute and level your coffee.
- Lightly tamp maintaining the tamper and the portafilter perfectly level.
- If you are happy with the puck tamp again, applying about 30 pounds of pressure, and maintaining the portafilter and the tamper perfectly level.
- Inspect the puck, and if all looks fine, wipe off coffee grounds that spilled around the edges of the portafilter.
More Tips and Tricks for Tamping and Measuring
Here are a few cool tips and tricks to help you avoid inconsistent shots.
- Do not knock the basket after tamping, the coffee puck will crack, and it will cause channeling.
- If you need a thicker puck, for a stronger shot, just give the portafilter a few extra taps on the tamping mat. This will compact the coffee and will allow an extra 20% ground coffee in the basket.
- If you pull small shots from a large basket, leveling technique won’t work, because you use less coffee in the basket. To level the coffee, just tap the basket in the four cardinal directions. Only tap before tamping, never after.
- Leveling and sweeping excess coffee can be achieved using the “Stockfleths Move”, which alone can dramatically improve the amount of crema. Watch a video with the Stockfleths Move below.
- If you aim for perfection, use a naked portafilter. This is a portafilter without the bottom. When pulling through a bottomless portafilter, all the coffee is seen as it is extracted. Any issue in preparation will be apparent during the extraction with a bottomless portafilter. Be prepared for streams of coffee flying around from your basket, or less dramatic, coffee pouring through one half of the basket only.
- Cheaper coffee grinders only have a few grind size settings, and the barista will have to compensate for grind size by adjusting the tamp. While tyhis is doable, it’s not what we recommend. We do recommend to buy an espresso grinder.
Conclusion
If this tutorial looks like an entire manual just for tamping, and if you fee a little overwhelmed by the amount of information, just do the simple version of it. When you get a bit more experienced, come back to this post and re-read it with fresh eyes.
Frequently Asked Questions
What is the recommended tamping pressure for espresso?
The traditional tamping pressure recommendation is 30 pounds, which represents the classic standard used by baristas. However, modern research indicates that distribution and level tamping technique are more critical factors than raw pressure alone. The emphasis has shifted from achieving a specific pressure measurement to ensuring even coffee distribution and a level tamp across the portafilter basket.
Does tamping pressure affect espresso extraction?
Tamping pressure influences espresso extraction, though modern tamping science has evolved beyond the traditional 30-pound rule. Contemporary research emphasizes that proper distribution of coffee grounds and maintaining a level tamp are more significant factors than the exact amount of pressure applied. These elements help prevent channeling and ensure uniform water flow through the coffee bed during extraction.
What is the difference between tamping and distribution in espresso preparation?
Distribution refers to the even spreading of coffee grounds in the portafilter basket before tamping, while tamping is the compression of those distributed grounds. Modern espresso preparation prioritizes distribution and level technique over raw tamping pressure. Proper distribution prevents channeling during extraction, and when combined with a level tamp, creates optimal conditions for water to flow uniformly through the coffee bed.
Why is level tamping important for espresso?
Level tamping ensures uniform water flow through the coffee bed during espresso extraction, preventing channeling where water finds paths of least resistance. Modern research emphasizes that maintaining a level tamp across the portafilter basket is more critical than achieving a specific pressure measurement. An unlevel tamp creates uneven density in the coffee puck, leading to inconsistent extraction and affecting the espresso's body and flavor profile.
What happens if espresso is tamped too hard?
Excessive tamping pressure can over-compress the coffee grounds in the portafilter basket, potentially restricting water flow during extraction. While the traditional standard suggests 30 pounds of pressure, modern tamping science indicates that distribution and level technique matter more than raw pressure. Over-tamping may lead to slower extraction times and can affect the espresso's body, temperature, and overall flavor balance including bitterness.